How to Build a Grocery Budget for Coles and High-Protein Meal Planning
Joey Habib · · 12 min read
- grocery budget
- meal planning
- protein cost
- coles
- macro tracking
A workable grocery budget starts with the food you will actually buy, not an idealised cost per serving. For a Coles shopper, set a weekly ceiling, price the whole packs that enter your trolley, map those packs to planned portions, then add a small price buffer before choosing meals. This guide shows how to make that calculation, protect protein targets, and decide what to change when the total is too high.
1. Set a weekly ceiling before choosing recipes
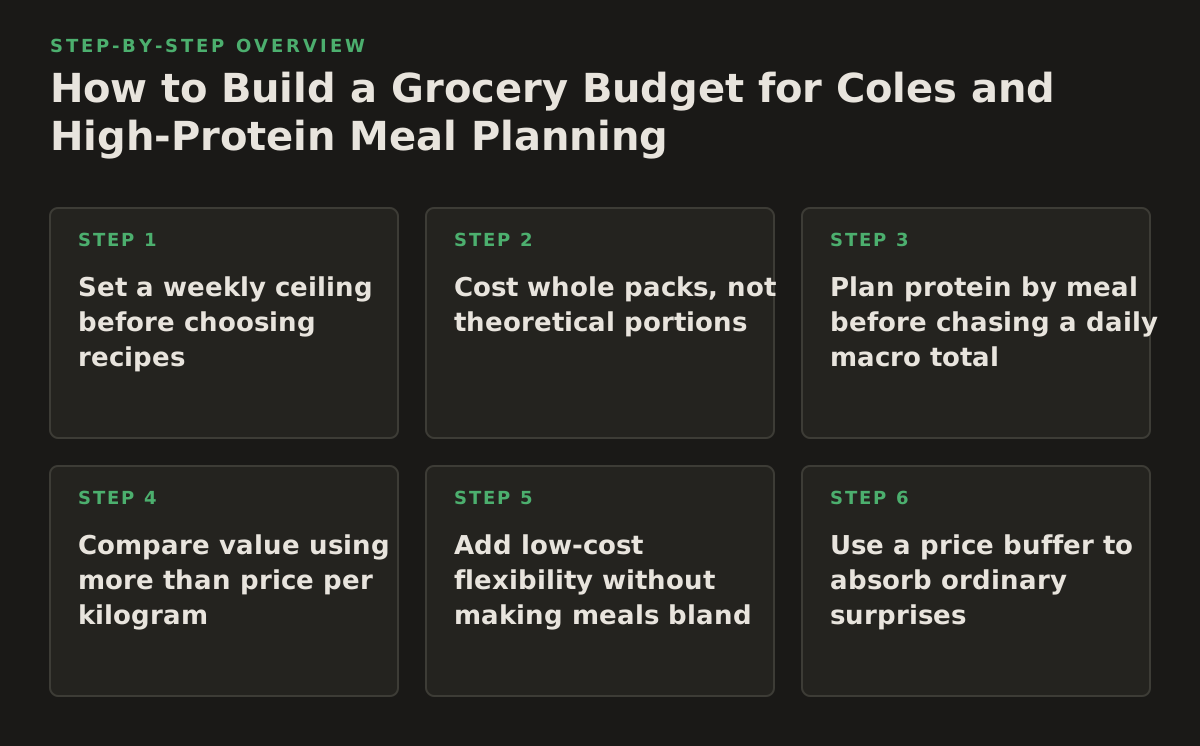
This principle applies when your shopping varies from week to week or when meal plans look affordable until snacks, sauces and replacement packs are added. A ceiling turns grocery planning into a decision: which foods deserve space in the week’s spend?
Start with the amount available for food, then separate groceries from takeaway meals, alcohol, household supplies and personal-care items. If several people share a shop, agree whether the ceiling covers everyone’s food or only one person’s meals. A budget that mixes categories will produce misleading results.
It helps to use a monthly view as well as a weekly one. Four weekly shops do not always cover a calendar month, and bulk purchases can land in one week even though they are consumed over several. The Australian government’s MoneySmart budget planner is useful for listing income, regular expenses and spending categories; use it to establish the amount available before turning that amount into a food plan.
Choose a ceiling you can explain
Use an illustrative starting policy, not a universal benchmark. For example, a single strength-training adult might decide that $120 is the weekly grocery ceiling, including breakfast, lunches, dinners and planned snacks but excluding supplements and cleaning products. Another household might choose $180 for several people. The important part is that the number has a defined scope.
- Write the weekly ceiling at the top of the shopping list.
- Reserve a portion for staples or household items if they share the same Coles trip.
- Keep a separate allowance for price movement and forgotten items.
- Review the ceiling after several shopping cycles rather than changing it after one unusual shop.
Failure mode: setting a very low target and treating every overrun as poor discipline. A ceiling is a planning constraint, not proof that a particular household can eat well for any chosen amount.
Implementation example: set a $120 illustrative food ceiling, reserve $10 for staple top-ups, and plan meals against the remaining $110. If the first draft costs $128, do not simply delete vegetables or protein. Identify which pack, convenience item or low-use ingredient is creating the overrun.
2. Cost whole packs, not theoretical portions
This is the most important adjustment for grocery budgeting. Nutrition apps often show the cost of the amount eaten, while supermarkets charge for the full pack. A recipe may use 150 grams of chicken, but the cart contains a larger tray. The unused portion still affects this week’s cash flow, even if it becomes next week’s lunch.
Build the list from purchase units: one tray, one carton, one bag, one tin or one tub. Then record how many planned portions each unit supplies. This makes the calculation useful for both cash planning and meal preparation.
Use a pack-to-portion worksheet
- Item: the exact product or a practical substitute.
- Pack price: the current displayed price at the time you plan the shop.
- Planned use: how much of the pack is assigned to meals this week.
- Portions: the number of meals or snacks produced.
- Carry-over: what remains and when it will be used.
For example, a hypothetical 1-kilogram pack of chicken priced at $14 could provide five 200-gram meal portions. The grocery cost for the week is still $14, not the cost of the 800 grams you happen to eat. If only four portions are planned, label the fifth portion as frozen or scheduled for the next meal rather than pretending it does not exist.
For packaged foods, compare the price and nutrition information on the product label. Food Standards Australia New Zealand explains the information provided in a Nutrition Information Panel, including serving information and nutrient quantities. That makes the label a better basis for checking protein and energy than relying on a product name or a serving size chosen by an app.
Failure mode: dividing every pack price by the number of servings printed on the label. A manufacturer’s serving may not match your portion, training needs or household use.
Implementation example: if a $4 carton of eggs supplies six breakfasts, record $4 in the cart and six planned portions in the meal plan. If two eggs are used per breakfast, make sure the carton size and breakfast count agree; otherwise the apparent cost per breakfast is fictional.
3. Plan protein by meal before chasing a daily macro total
This principle applies to gym-goers, strength trainees and coaches who need meals that reliably contribute protein without letting one expensive food carry the entire plan. A daily target is useful, but it does not tell you what to buy. A meal-by-meal structure does.
List the meals first and assign a practical protein contribution to each. The amounts should be based on the individual’s nutrition plan, training context and professional advice where relevant. Do not treat a generic protein number as a medical prescription. Healthdirect’s overview of protein in the diet explains why protein foods form part of a balanced eating pattern and notes that needs can differ by person and circumstance.
Build a protein ladder
Use three levels to make substitutions easier:
- Anchor foods: the main protein in a meal, such as eggs, chicken, fish, lean meat, tofu or legumes.
- Supporting foods: yoghurt, milk, cheese, beans or a smaller portion of another protein.
- Flexible additions: foods selected mainly for flavour, fibre, energy or convenience.
Then price the anchor foods first. If the basket is too expensive, change one anchor or reduce the number of high-cost meals before cutting every ingredient slightly. This preserves a recognisable meal structure and makes adherence easier.
Failure mode: buying the cheapest protein per 100 grams without considering pack size, preparation time or waste. A large pack that is not cooked or frozen in time is not economical.
Implementation example: plan four breakfasts around eggs or yoghurt, three lunches around chicken or legumes, and dinners using a mix of meat, fish and tofu. The exact combination is a personal plan; the budgeting advantage comes from assigning a role to each protein before adding discretionary snacks.
For coaches, record both cost per planned protein portion and total pack cost. The first helps compare meal value; the second tells the client whether the shop fits the ceiling. They answer different questions and should not be substituted for one another.
4. Compare value using more than price per kilogram
Unit price is a useful first screen, particularly when comparing different pack sizes. The ACCC explains Australian price-display requirements and unit pricing on its price displays guidance. Use the unit price shown in store or online, then add the factors that determine whether the food will become an eaten portion.
A cheaper item may have a lower usable value if it creates waste, takes substantially longer to prepare or cannot be portioned around your schedule. Conversely, a higher-priced convenience food may be reasonable when it prevents takeaway spending and is used consistently.
| Decision | Measure to check | When it matters most | Practical action |
|---|---|---|---|
| Choose between pack sizes | Whole-pack price, unit price and likely carry-over | When a larger pack looks cheaper | Buy large only if it can be frozen, stored or used on schedule |
| Compare protein foods | Cost per planned protein portion | When protein is consuming too much of the ceiling | Compare anchors on the same portion basis |
| Assess convenience | Price premium versus preparation time and waste risk | For busy work or training days | Keep convenience for high-risk meals, not every meal |
| Decide what to cut | Cost, nutrition role and replacement difficulty | When the cart exceeds the ceiling | Cut low-role extras before core meals |
| Use a promotion | Discounted price, pack size and expiry date | When a sale changes the normal choice | Buy only the quantity that has a named use |
Failure mode: treating the lowest unit price as the winner every time. Value is the combination of usable food, nutrition contribution, storage and likelihood of being eaten.
Implementation example: compare two yoghurt tubs by unit price, then check how many breakfasts each supplies and whether the larger tub will be finished before its use-by date. If both supply the same planned portions, the cheaper usable option wins. If not, record the waste risk as part of the decision.
5. Add low-cost flexibility without making meals bland
A budget plan needs substitution paths because prices, availability and appetites change. Build meals around interchangeable components rather than one exact recipe. This is especially useful for Coles shoppers who plan online and discover that a preferred pack is unavailable or more expensive than expected.
Create a short list of flexible foods for each role:
- Protein swaps: eggs, canned fish, chicken, lean mince, tofu, beans or yoghurt, chosen according to the person’s diet.
- Carbohydrate swaps: rice, pasta, oats, potatoes, bread or other staples already used in the household.
- Produce swaps: fresh, frozen or canned vegetables and fruit that suit the same meal.
- Flavour swaps: herbs, spices, stock, salsa or a sauce already in the pantry.
The Australian Dietary Guidelines provide a framework for choosing a variety of foods from the major food groups; use the Australian Dietary Guidelines as a nutrition reference rather than designing a plan around protein alone. A high-protein plan still needs to account for vegetables, fruit, grains and other foods appropriate to the individual.
Failure mode: calling every substitute equivalent. A swap can change protein, energy, allergens, cooking time or portion size. Update the meal’s nutrition estimate when the substitution is meaningful.
Implementation example: write “chicken or tofu stir-fry” rather than committing to chicken before checking prices. If tofu is selected, recalculate the portion and protein contribution; do not preserve the chicken numbers by assumption.
6. Use a price buffer to absorb ordinary surprises
A budget that uses every dollar is fragile. One changed price, missing staple or extra carton can force a poor decision at checkout. Add a price buffer after the planned pack total. This is an illustrative policy, not a market forecast: a household might reserve $5 to $15 depending on its ceiling and how frequently prices change.
Keep the buffer visible rather than hiding it inside every ingredient. That makes the plan auditable. If the buffer is repeatedly used, the underlying list may be too optimistic, or the ceiling may not match actual shopping conditions.
Worked example: a hypothetical weekly budget
The following is a deliberately hypothetical example using rounded prices. It demonstrates the method, not current Coles pricing or a recommended diet.
| Pack or item | Whole-pack cost | Planned use | Portions or role |
|---|---|---|---|
| Eggs | $6 | Breakfasts | 4 portions |
| Chicken | $14 | Lunches | 5 portions |
| Greek-style yoghurt | $7 | Breakfast or snacks | 4 portions |
| Canned beans | $4 | Dinners | 3 portions |
| Rice | $4 | Lunches and dinners | 8 portions |
| Frozen vegetables | $5 | Lunches and dinners | 8 portions |
| Fruit | $8 | Snacks | 7 portions |
| Milk and pantry top-ups | $12 | Drinks, cooking and flavour | Shared use |
The whole-pack subtotal is $60. If this person also buys bread for $4, a salad kit for $6 and frozen fish for $18, the planned pack total becomes $88. Add an illustrative $10 price buffer and the working grocery budget is $98. Against a $110 food allowance after a separate $10 staple reserve, the plan has $12 of room. Against a $90 ceiling, it is $8 over and needs a deliberate change.
To correct the $90 version, the shopper could remove the salad kit and use the frozen vegetables already planned, reducing the hypothetical total by $6, then replace frozen fish with another planned protein if needed. The correct response is not to divide the chicken into unrealistically small portions. Whole-pack total plus buffer is the number that controls the shop.
Failure mode: treating the buffer as spare money to spend on impulse items. It exists for price variation and omissions; unused buffer can roll into the next shop or remain unspent.
7. Track the gap between the plan and the trolley
Budgeting improves when you compare three numbers: planned pack cost, checkout cost and consumed cost. Checkout cost is the cash decision. Consumed cost is useful for understanding meals over time, especially when a large pack crosses several weeks.
After each shop, record:
- what changed from the planned list;
- which prices were different;
- what was wasted, frozen or carried forward;
- which meals were replaced or purchased outside the plan;
- how much protein food remained at the end of the week.
Look for repeatable causes rather than blaming individual choices. If yoghurt is repeatedly bought but not eaten, reduce the pack or move it to a more reliable meal. If training days trigger takeaway, assign a fast, pre-portioned dinner to those nights. If produce spoils, buy a smaller fresh quantity and use frozen options for the rest.
Failure mode: tracking only the final receipt total. The receipt tells you that the plan missed; it does not tell you whether the cause was an expensive anchor, unplanned convenience, waste or inaccurate pack assumptions.
Implementation example: keep a simple four-column note: planned, bought, used and carried forward. After three shops, change one rule at a time. This preserves enough consistency to see whether the adjustment worked.
Put the system into practice in one shopping cycle
- Define the scope. Write the weekly ceiling and state whether it includes household staples, supplements, snacks and food for other people.
- Map meals to roles. Choose the number of breakfasts, lunches, dinners and snacks, then assign protein anchors before selecting extras.
- Convert meals into packs. Use the product size you expect to buy, not just recipe gram amounts. Mark leftovers and freezer portions.
- Price the basket. Record whole-pack prices and use unit pricing as a comparison aid. Check the live Coles listing or shelf price close to shopping time.
- Apply the decision table. Compare protein portions, waste risk, convenience and substitution options. Remove low-role extras first when the total is high.
- Add the buffer. Keep an illustrative amount aside for price changes and forgotten staples. Do not spend it before checkout.
- Shop and reconcile. Note substitutions, unavailable items and impulse purchases while the reasons are fresh.
- Revise one constraint. For the next week, change the most repeated source of error: pack size, meal timing, protein choice, convenience or ceiling.
A spreadsheet can handle this method if you are comfortable maintaining pack prices and portions. For Coles shoppers who want the macro target, meal structure and supermarket cost considered together, Macronomics is designed to connect those decisions rather than show a theoretical serving price. See Macronomics to explore the Australia-focused meal planning and nutrition cost-tracking service.
Authored with NotFair SEO